macOS · Apple silicon
下載 macOS 版 Apple silicon · DMG- 開啟 DMG。
- 把 WSPC Drive 拖到 Applications,再啟動 app。
- 在瀏覽器登入。
- 選擇或建立 Drive library,再選擇本機資料夾完成 Binding。
將你正在使用的 AI 連接到 wspc,接著透過導覽體驗 Email、Calendar、Drive 和 Todo。
建議用付費的 frontier 等級模型,對話最順暢。另外 Claude.ai 的 custom connector 也需付費方案才可使用。
連線
加一個 custom connector
依照下方填入 Name 與 Server URL。若使用 ChatGPT,再將 Authentication 選為 OAuth;其他欄位留空即可:
Customize Connectors Add Add custom connector
wspc https://mcp.wspc.ai/mcp OAuth 那兩格在 Advanced settings 底下,留著不用管,直接按 Add。
Settings Plugins Developer mode
要先打開這個。沒開之前,你找不到地方加自己的 plugin。
Plugins + New plugin
wspc https://mcp.wspc.ai/mcp OAuth Icon 跟 Description 留空。勾「I understand and want to continue」,按 Create。
先連上,再用 email 驗證碼登入
加進去不等於連上了。按 Connect(Claude)或 Sign in(ChatGPT),然後輸入 email → 收 6 位數驗證碼 → Verify → Approve。工具立刻載入。
就這樣,連好了。現在跟你的 AI 說:
開始 wspc 導覽 把指南交給 agent
把這段貼給你的 agent——它會幫你裝好 wspc,並給你一個連結在瀏覽器裡核准登入。
Install and connect wspc for me: run `npx -y @wspc/cli login` in the background, then give me the browser approval link to open. Setup reference: https://wspc.ai/AGENTS.md 它會裝 CLI 並幫你登入
agent 安裝 @wspc/cli、執行 wspc login(OAuth device flow——你在瀏覽器核准),並驗證 session。
就這樣,裝好了。把這句貼給你的 agent:
請根據 npx -y @wspc/cli tour 的指引帶我進行 wspc 導覽。 選用 · WSPC Drive
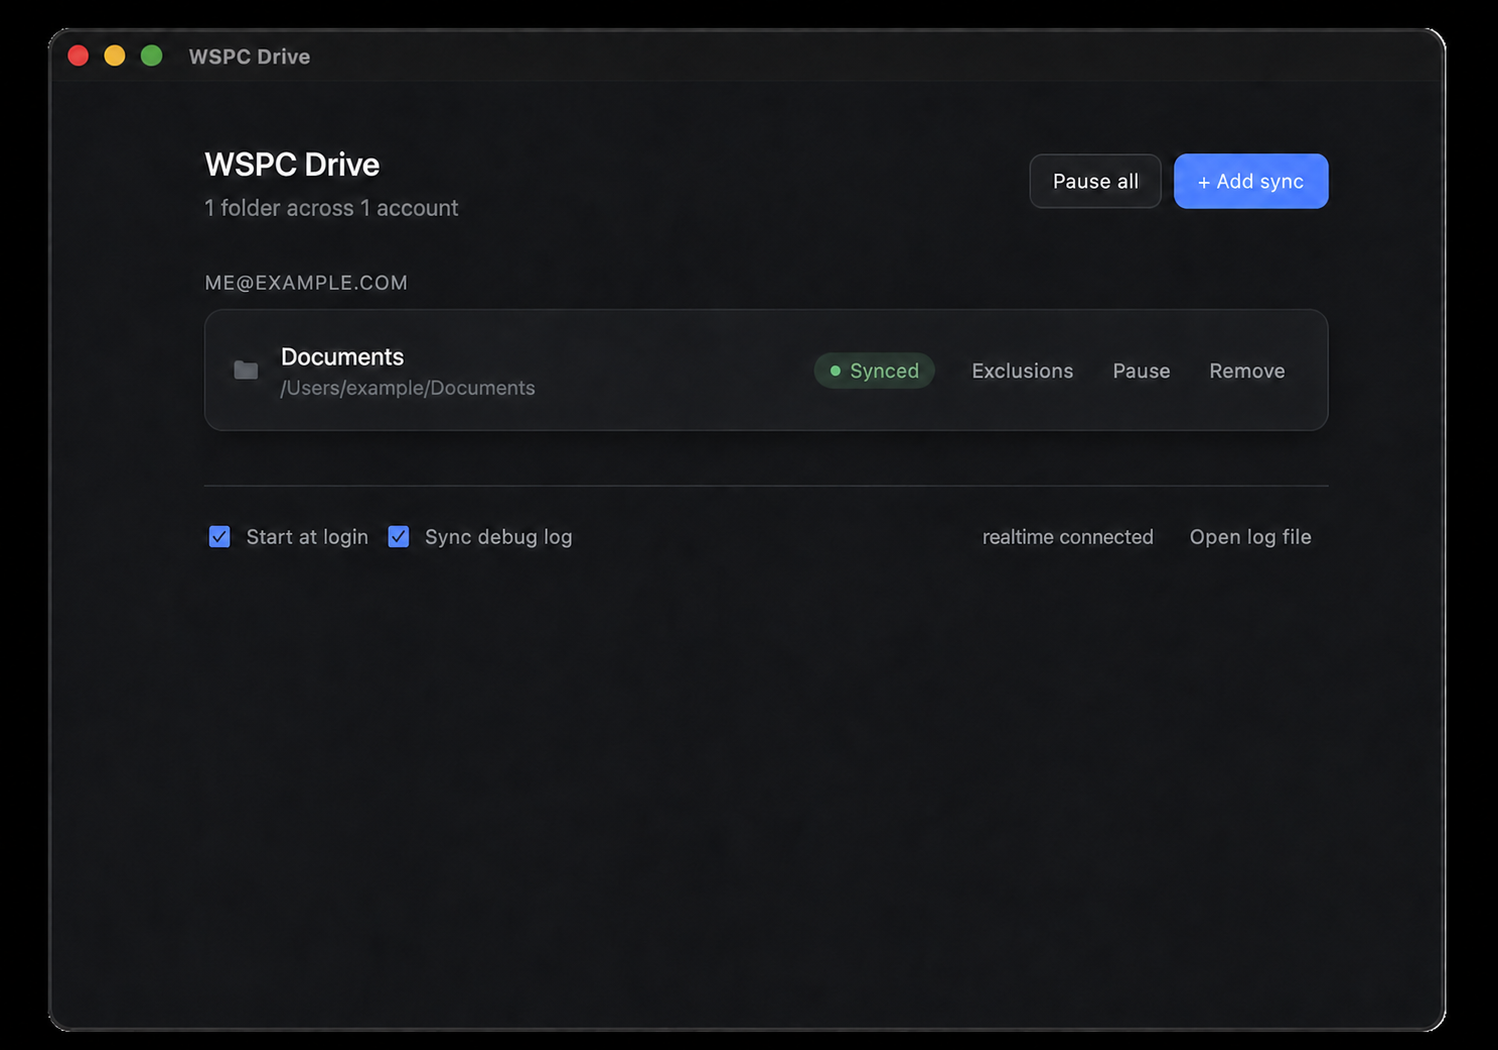
WSPC Drive 會在 macOS menu bar 或 Windows system tray 背景執行。它會把 library 同步到電腦上的資料夾,讓你和 AI 管理同一個 knowledge base。不需要 desktop 存取時,可以略過這個步驟。
你已經上線了
你的 AI 現在可以幫你收發 email、建立 calendar event、追蹤 todo,並管理 knowledge base。你可以用這些能力建立 skill 或 app。幾個值得繼續看的地方: