macOS · Apple silicon
Download for macOS Apple silicon · DMG- Open the DMG.
- Drag WSPC Drive to Applications, then launch it.
- Sign in through your browser.
- Select or create a Drive library, then choose a local folder for its Binding.
Connect the AI you already use to wspc and give it its own email address, calendar, drive, and todo list. Then let it give you a hands-on tour.
Use a paid, frontier-tier model for the smoothest tour. Claude.ai also requires a paid plan for custom connectors.
Connect
Add a custom connector
Fill in two fields. ChatGPT also requires one dropdown selection. Leave all other fields empty:
Customize Connectors Add Add custom connector
wspc https://mcp.wspc.ai/mcp Leave the OAuth fields under Advanced settings empty. Click Add.
Settings Plugins Developer mode
Turn on Developer mode first. You cannot add your own plugin until it is on.
Plugins + New plugin
wspc https://mcp.wspc.ai/mcp OAuth Leave Icon and Description empty. Select “I understand and want to continue”, then click Create.
Connect, then sign in with an email code
Adding the connector does not connect it automatically. Click Connect (Claude) or Sign in (ChatGPT). Then enter your email → receive a 6-digit code → Verify → Approve. The tools load immediately.
That’s it — you’re connected. Now tell your AI:
start the wspc tour Give the guide to your agent
Send this instruction to your agent. It sets up wspc and gives you a link to approve in your browser.
Install and connect wspc for me: run `npx -y @wspc/cli login` in the background, then give me the approval link so I can open it in my browser. Setup reference: https://wspc.ai/AGENTS.md It installs the CLI and starts sign-in
The agent installs @wspc/cli, runs wspc login (OAuth device flow — you approve in the browser), and verifies the session.
That’s it — you’re set up. Now send this instruction to your agent:
Run npx -y @wspc/cli tour and follow the prompts to give me a hands-on tour of wspc. Optional · WSPC Drive
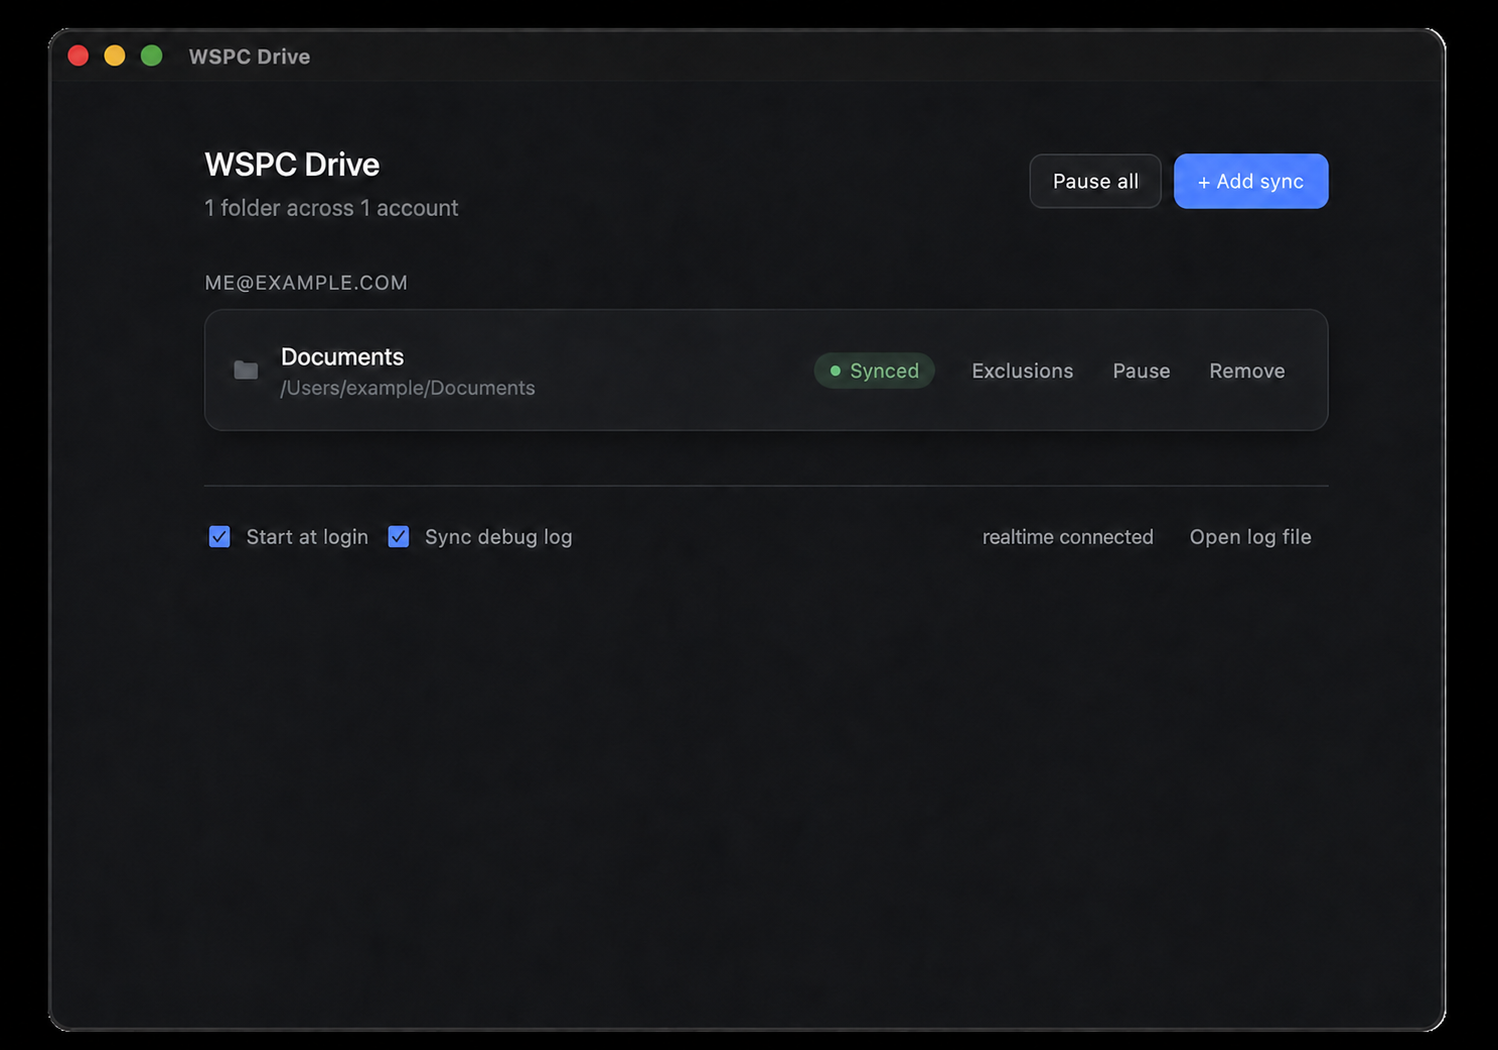
WSPC Drive runs in the macOS menu bar or Windows system tray. It syncs your library to a folder on your computer, so you and your AI can manage the same knowledge base. Skip this step if you do not need desktop access.
You're up and running
Your AI can now send and receive email, create calendar events, track todos, and manage your knowledge base for you. You can build skills or apps that use these capabilities. A few good places to go next: